
Water Storage & Care
How to Clean a Water Tank Safely: A Step-by-Step Guide
A safety-first guide to cleaning and disinfecting a water storage tank in Kenya — drain, scrub, disinfect with about one litre of household bleach per 1,000 litres for 24 hours, then rinse. Includes a dosing table and how often to do it.
5 min readUpdated
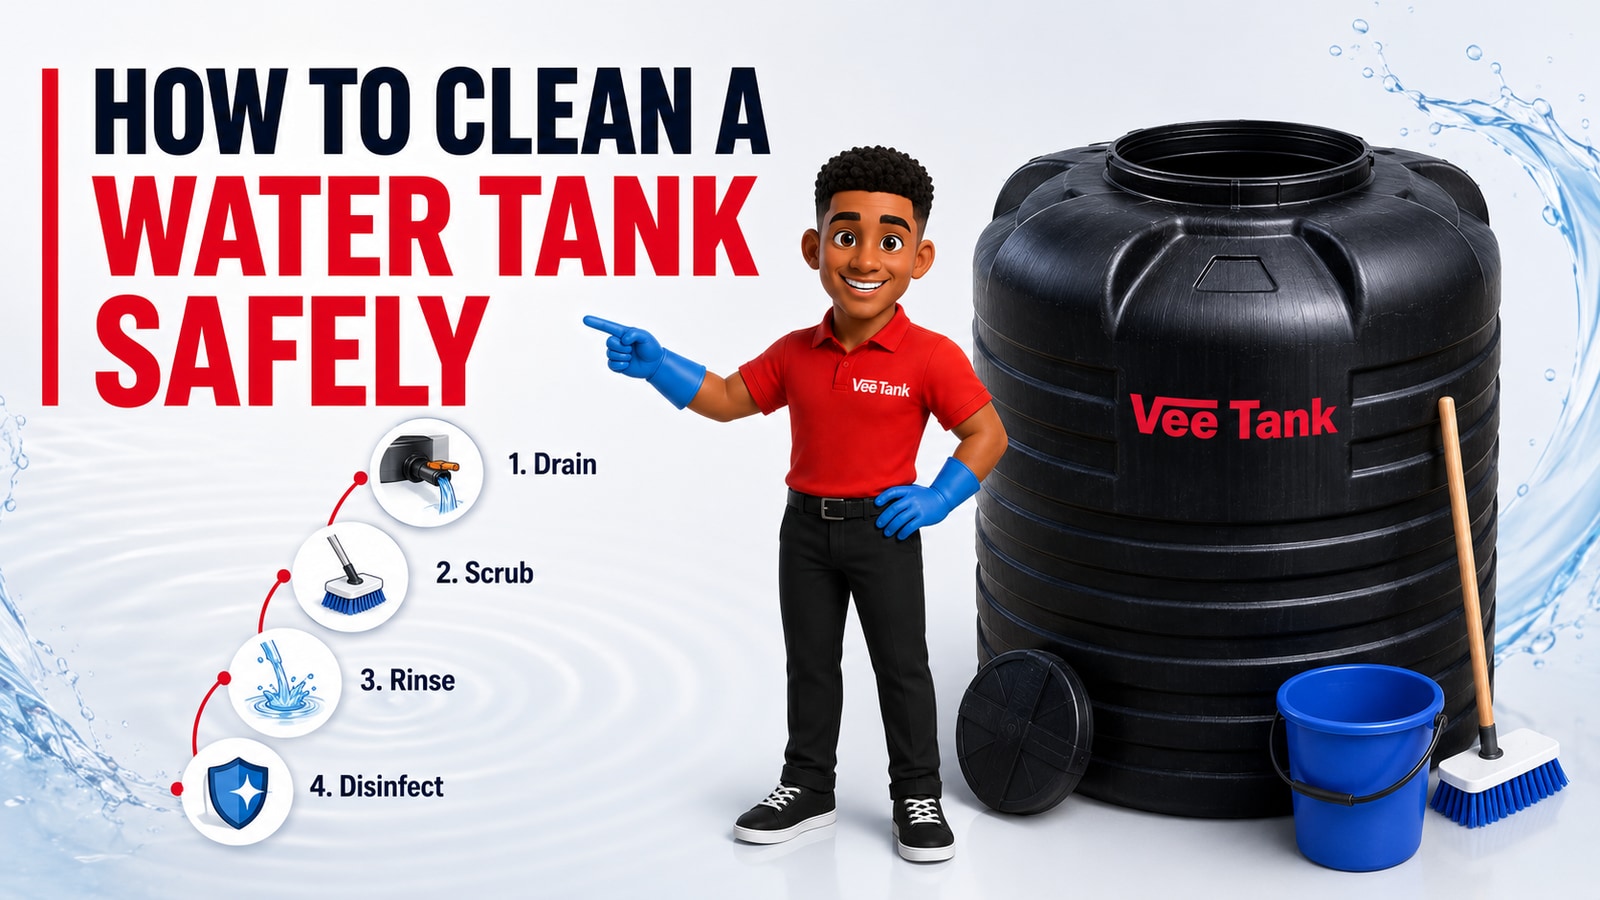
In short: shut off the inlet, drain the tank, scrub every inside surface, then disinfect with roughly one litre of plain household bleach per 1,000 litres of water, left to stand for 24 hours. Drain, rinse until the smell is gone, and refill. Clean a domestic tank about twice a year.
Never climb inside a water tank. A tank is a confined space. Chlorine vapour collects in it, the sides are slippery, and a person who gets into trouble in one is very hard to get out. Everything below is done from outside, with a long-handled brush. This is not caution for its own sake — confined spaces kill people who were only going to be a minute.
Why it needs doing at all
Even a sealed tank collects sediment. Fine silt arrives with the supply and settles. Dust and insects get past an unscreened inlet or a lid that no longer seats. And a film of bacteria — biofilm — builds slowly on the walls, worst at the water line where air, water and light meet.
None of that makes the water obviously bad. It makes it gradually worse, and the change is slow enough that nobody notices until something tastes wrong.
How often
| Setting | How often |
|---|---|
| Domestic tank, roofed supply | Every 6 months |
| Rainwater harvesting | Every 6 months, and after the first heavy rains |
| Schools, clinics, food premises | Every 3 months |
| After any contamination | Immediately |
Clean it straight away, whatever the schedule says, if you see algae, find an animal or bird in the tank, notice a smell or a taste, or the water changes colour.
What you will need
- Plain unscented household bleach (sodium hypochlorite). Not scented, not "thick", not a bleach with detergent in it
- A long-handled stiff brush
- Buckets, or a wet/dry vacuum
- Rubber gloves and eye protection
- Clean water for rinsing
The steps
1. Shut off the supply and drain the tank
Close the inlet, or tie the float valve up so no new water enters. Drain the tank down through the outlet tap. If you can, use the water on the garden rather than sending it to waste.
2. Remove the leftover water and sludge
There will be a few centimetres the outlet cannot reach, and that is where the sediment is. Scoop it out with a clean bucket, or lift it with a wet/dry vacuum. Do not leave it — you are about to scrub it back over the walls otherwise.
3. Scrub the walls, floor and water line
With the long-handled brush, work over every inside surface: walls, floor, and the corners where they meet. Spend the most time on the water line, the band where the surface usually sits. That is where biofilm is thickest and where a rinse alone will not touch it.
Plain water and a brush is enough here. The disinfecting comes later.
4. Rinse out what you loosened
Rinse down with clean water and drain again. Repeat until the runoff comes out clear and free of grit. Scrubbing without rinsing just redistributes the dirt.
5. Mix and add the chlorine
Fill the tank with clean water and add bleach at about one litre per 1,000 litres, which gives roughly 50 ppm of available chlorine.
| Tank | Household bleach |
|---|---|
| 1,000 L | 1 litre |
| 1,500 L | 1.5 litres |
| 2,300 L | 2.3 litres |
| 3,000 L | 3 litres |
| 5,000 L | 5 litres |
| 10,000 L | 10 litres |
Add the bleach to water, never water to bleach, and keep gloves and eye protection on while you do it.
6. Let it stand for 24 hours
Leave the solution in the tank for a full day. Part-way through, open each tap in the house briefly until you smell chlorine, then close it — that disinfects the pipework as well as the tank, which is the step most people skip and the reason a cleaned tank sometimes goes bad again quickly.
If you cannot spare 24 hours, a stronger dose of about 200 ppm — four times the bleach — for three hours will do, but the gentler, longer version is easier to get right.
7. Drain it completely
Drain all the chlorinated water out. Do not put it on the garden, and keep it out of drains that run to a stream or a dam. At this strength it will kill plants and it is bad news in a waterway. Send it to a sewer or soak it away well clear of anything growing.
8. Rinse, refill and go back into service
Refill with clean water, drain once more, and repeat if there is still a strong bleach smell. When the smell has gone, reconnect the float, refill, and put the tank back into use.
A faint chlorine smell on the first refill is normal and clears within a day or so of ordinary use.
Keeping it clean for longer
Cleaning is the cure. These are the prevention:
- Keep the lid seated. Most contamination walks in through a lid that no longer closes properly.
- Screen the inlet. A fine mesh stops leaves, insects and lizards. It costs almost nothing and saves most of the trouble.
- Keep light out. Algae needs light. A Vee Tank's grey middle layer is there to block it and the wall is opaque by design — but an open inspection hatch in the sun undoes that.
- Fit a first-flush diverter if you are harvesting rainwater, so the dirtiest water off the roof never enters the tank.
- Look inside every few months. From outside, with a torch. Two minutes, twice a year, is what tells you whether the six-month schedule is right for your site.
A note on your Vee Tank
The inner layer is white virgin food-grade material and smooth, so there is less for residue to hold on to and it rinses down more easily than a rough surface would. It still needs the same routine — a smooth wall gets dirty more slowly, not never.
Questions about your tank or your warranty? Talk to us.